6 Easy Tips for an Organized Pantry
So you’ve built your dream pantry…but now what? Our guest today is Lydia, Kimberley Homeowner since 2018 with some excellent pantry organization tips!

6 Tips for the Most Organized Pantry
1. Invest in good containers
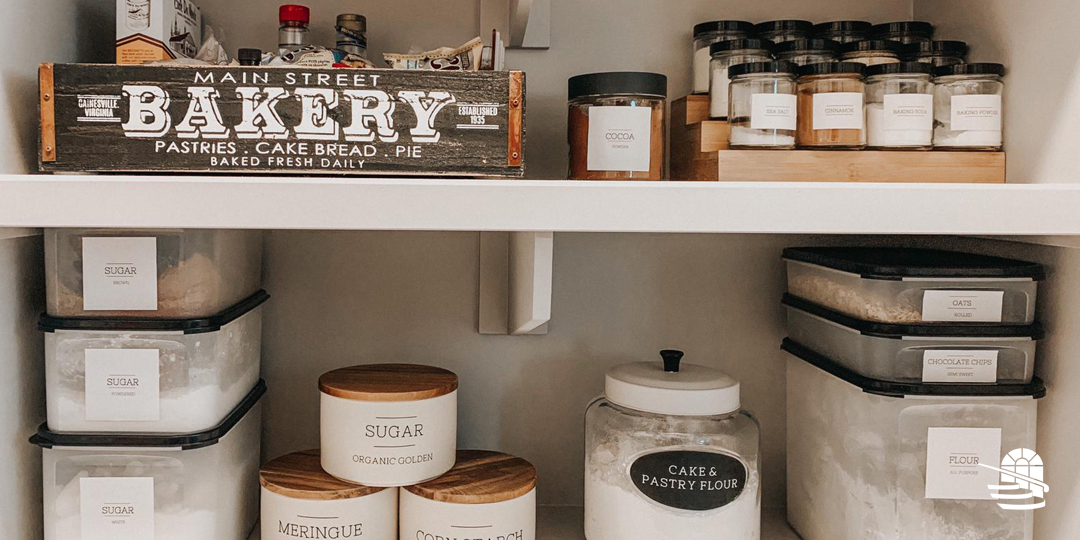
- A container with a secure lid helps keep your food fresh (putting your flour into a tub vs letting it sit in the open bag)
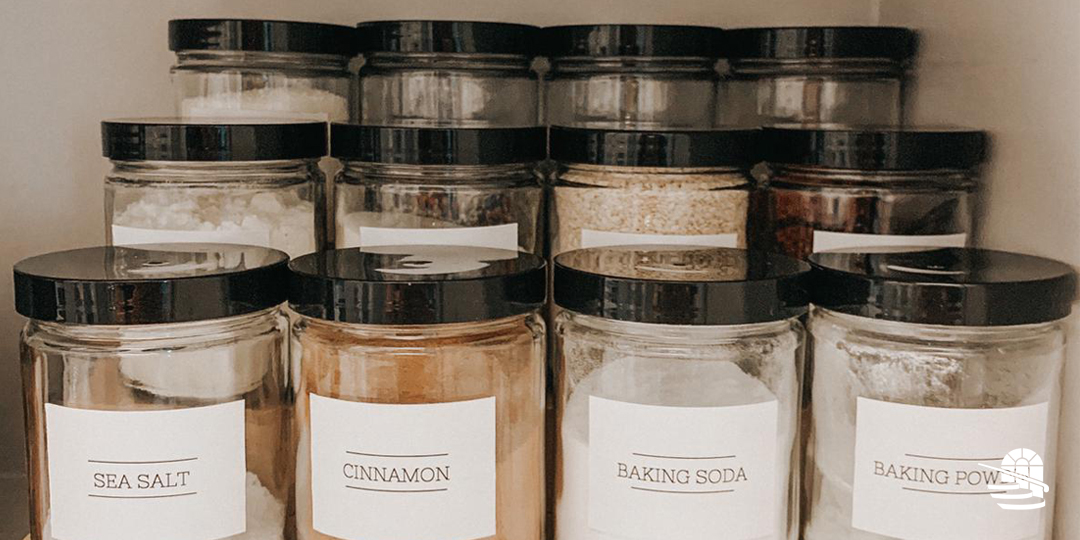
- Visually coordinate your items (example: all spices in the same type of jar)
- Using containers from the same brand makes it easier for stacking
- Use clear jars so you can easily see the amount left of the contents inside
- Choose glass when possible, as plastic can stain more easily and retain odors
I have a variety of sizes of containers because of the type of items I purchase. When it comes to investing in good containers, my top tip is to think of the quantity of ingredients you normally purchase and choose a size of container to match. For example, I buy a lot of sugar and flour, so I have large containers for those ingredients. I buyer smaller quantities of spices, cream of tartar and baking soda for example, so I chose smaller jars for those items. A variety of containers also makes things look great and makes the best use of your space.

2. Play with heights to elevate appearance and maximize the space
- Tiered spice racks help display and arrange smaller jars so things don’t get lost in the back of your cabinet
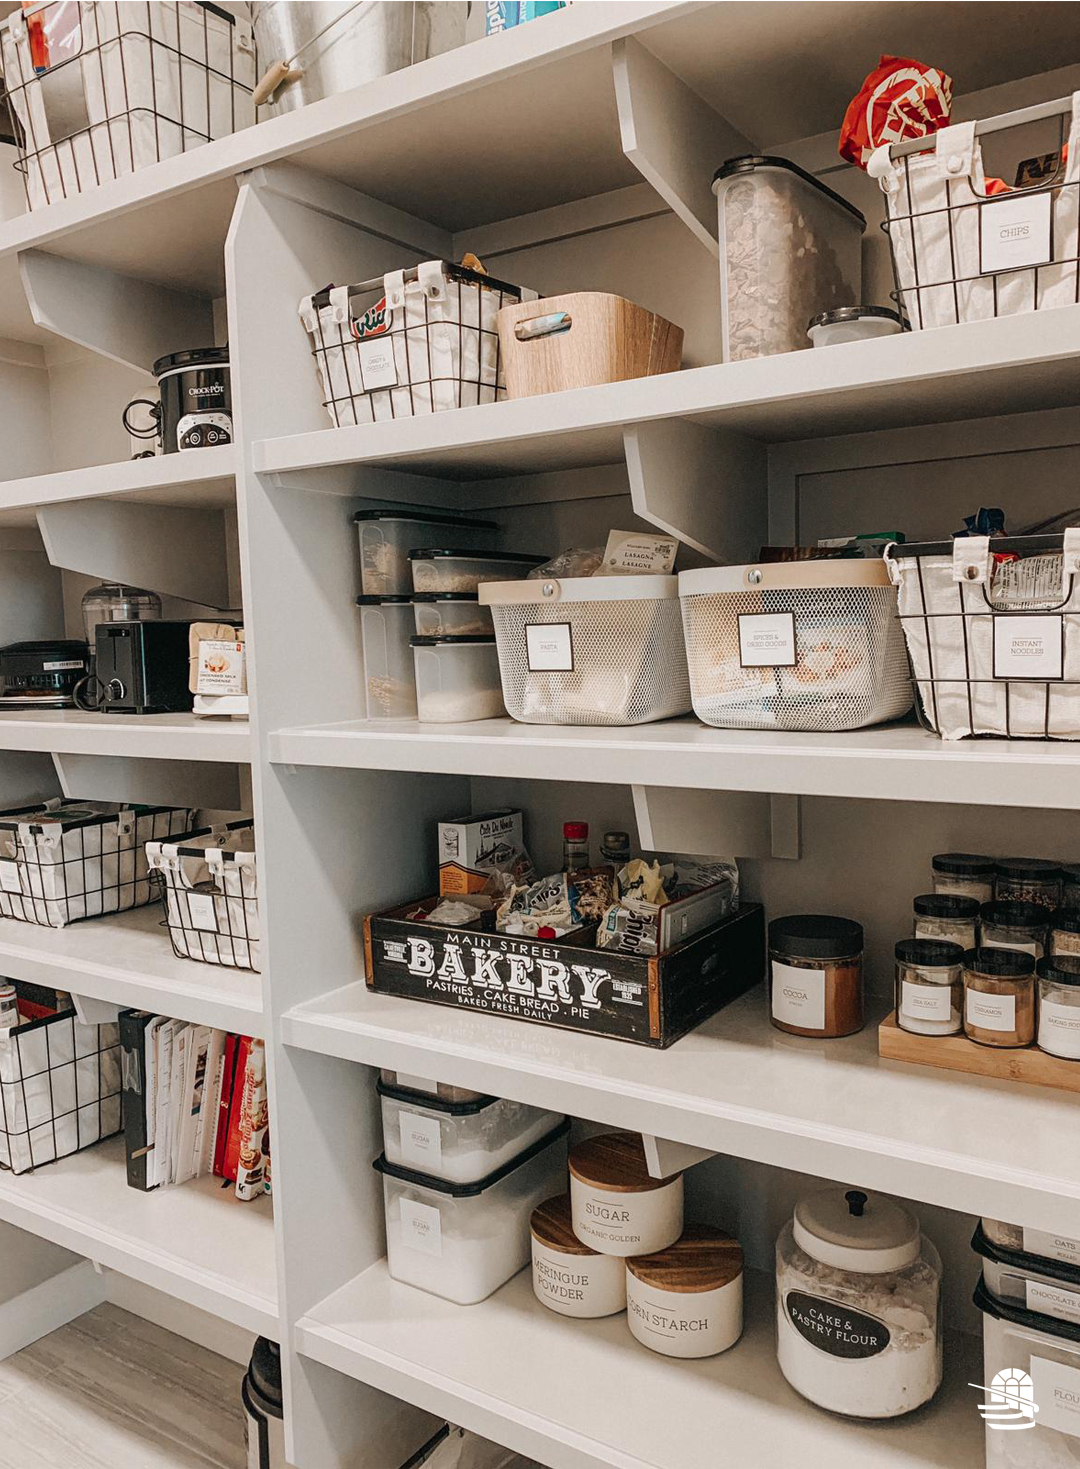
- If you have taller cabinets, adding extra shelves help you maximize that vertical space
Stick to one colour scheme or material to make all the different sizes or styles of storage look more cohesive.

3. Think about what you use the most and store accordingly
If you know you grab the flour canister every day, make sure it’s front and centre in your pantry! And if you want your kids to have easy access to their breakfast items, make sure those go on a shelf within their reach.
- Keep what you use the most accessible for easy read and reach
- Seasonal and lighter weight items can go up top (example: extra tablecloths, platters, extra supplies like foils, wraps, freezer bags)
- Keep heavy items and small appliances on the bottom shelves for safe and easy access

4. Label Everything!
In the past I had purchased preprinted labels for my pantry essentials. But it never quite worked out because I either had too many of one type of label, or not enough of another. I found an inexpensive and easy workaround that I can do from home to get all the customized labels I need!
- Type out the labels you need on your computer
- Print on to regular printer paper
- Trim the labels down using a paper trimmer
- Use Tombow glue (or other permanent repositionable glue) to adhere the label on to your jar
Voila! Fully customized sticker labels that are easy to replace when the time comes.
The other problem I encountered with transferring products to new containers is that I lose the good info on the packaging, like cooking directions, or ingredient lists. I found a workaround that works well for me:
- Add masking tape to the bottom of the container to note the expiry date
- Cut out and tape the relevant part of the packaging (directions, ingredients, etc.) to the bottom of the container
This way you still have easy access to all the important info about that product, but by taping it to the bottom it’s your little secret!

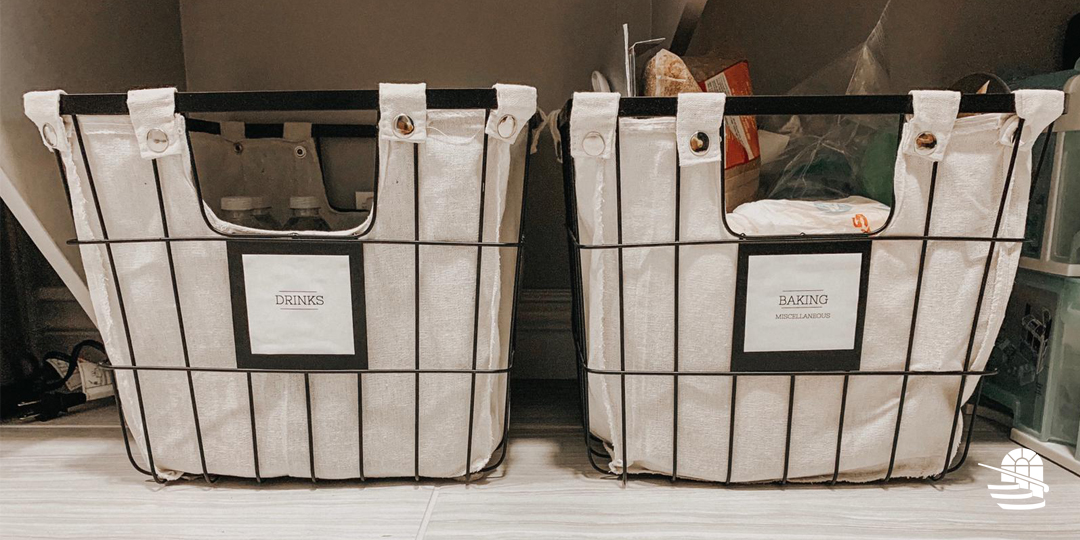
5. What about the random items?
We all have that random bag of an ingredient we bought one time for one recipe that has no permanent home in our pantry. Use a “random” labelled bins or baskets to corral those one-off items. Baskets also work well for individually packaged items like kid’s snacks, instant noodles, or “extra” unopened ingredients that haven’t been repackaged yet (bags of brown sugar, icing sugar, etc.).
6. Have fun with it!
No one but you may ever see inside your pantry, but that’s no reason not to have fun with it! Our pantry connects to our mud room and garage, so we walk through it very often. I wanted this space to be fun, practical, and match my style.
- Don’t limit yourself to “traditional” pantry storage items; any cute box, crate or basket can work
- Smaller baskets that fit inside your larger ones help to create extra dividers (and they don’t have to match!)
- Use current household items as décor
- Cake pedestals or domes can double as storage and display when not in use
- For a more eclectic look you can re-purpose empty food jars; soak the jar in hot water to remove the original label and replace it with your own
You can find Lydia on Instagram @this_is_lydz for more inspiring – and crafty – home ideas!


